

Flow designer is a ServiceNow platform feature which provides a design environment to configure process automation using natural language.
Benefits:
- Single interface to create, operate and troubleshoot flows.
- Natural language descriptions to help build automation process for non-technical users.
- Reduction in development costs by enabling the development, sharing and reuse of Flow components.
- Replaces complex custom scripts with upgrade-safe platform logic.
So, what is a Flow?
A flow is a sequence of steps to automate business logic for particular applications or processes, this can range from sending notifications, asking for approvals to creating or updating records.
Other components available in Flow Designer are:
- SubFlow - This is similar to a Flow, the difference being is that it doesn't have a trigger and instead runs from within a flow, another subflow, or a script. Subflows are reusable actions, data inputs and outputs
- Action - Is a reusable operation which can be contained within multiple Flows or subflow to automate features in ServiceNow with no-code.
- Spoke - A spoke is a scope application which contains pre-defined subflows and actions for managing specific tables.
Worth a mention is Process Automation Designer (PAD). This ServiceNow feature enables Business Process Analysts to organise Flow Designer content into unified and digitized cross-enterprise processes.
I'll create a separate series for PAD as their is a Now Learning course for it and diverges from the current context.
How do I start working with Flow Designer?
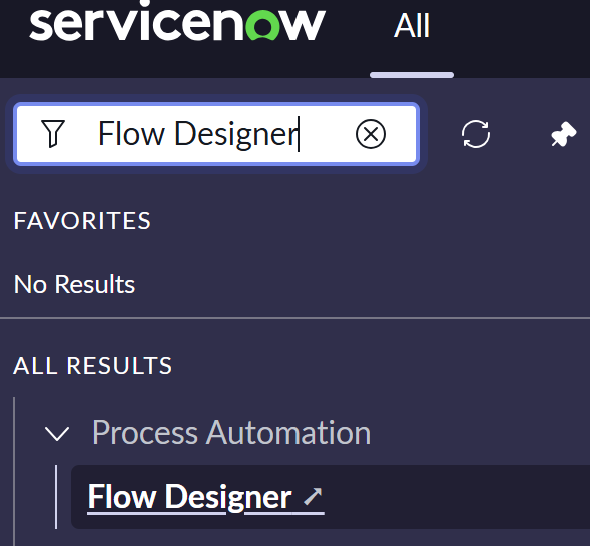
Flow Designer module can be reached by navigating too All > Process Automation > Flow Designer. This will open in a separate tab in your browser.
The roles available for assignment related to Flow Designer are:
- Admin: Grants full access to all Flow Designer features across all application scopes. This is the system administrator role, not specific too Flow Designer.
- Flow Designer: Allows users to create and edit flows.
- Flow Operator: Provides access to view flow execution details, dashboards, and logs.
- Action Designer: Required for creating and modifying flow actions.
- Flow Report Viewer: Grants access to flow reporting.
- Read-Only Roles: Includes
fd_read,fd_read_flows,fd_read_actions, andfd_read_operationsfor viewing flows, actions, and execution details.
Navigating Flow Designer
The interface for flow designer is intuitive and self-explanatory. The navigation bar at the top allows you to navigate between the Homepage, Operations and Integrations.
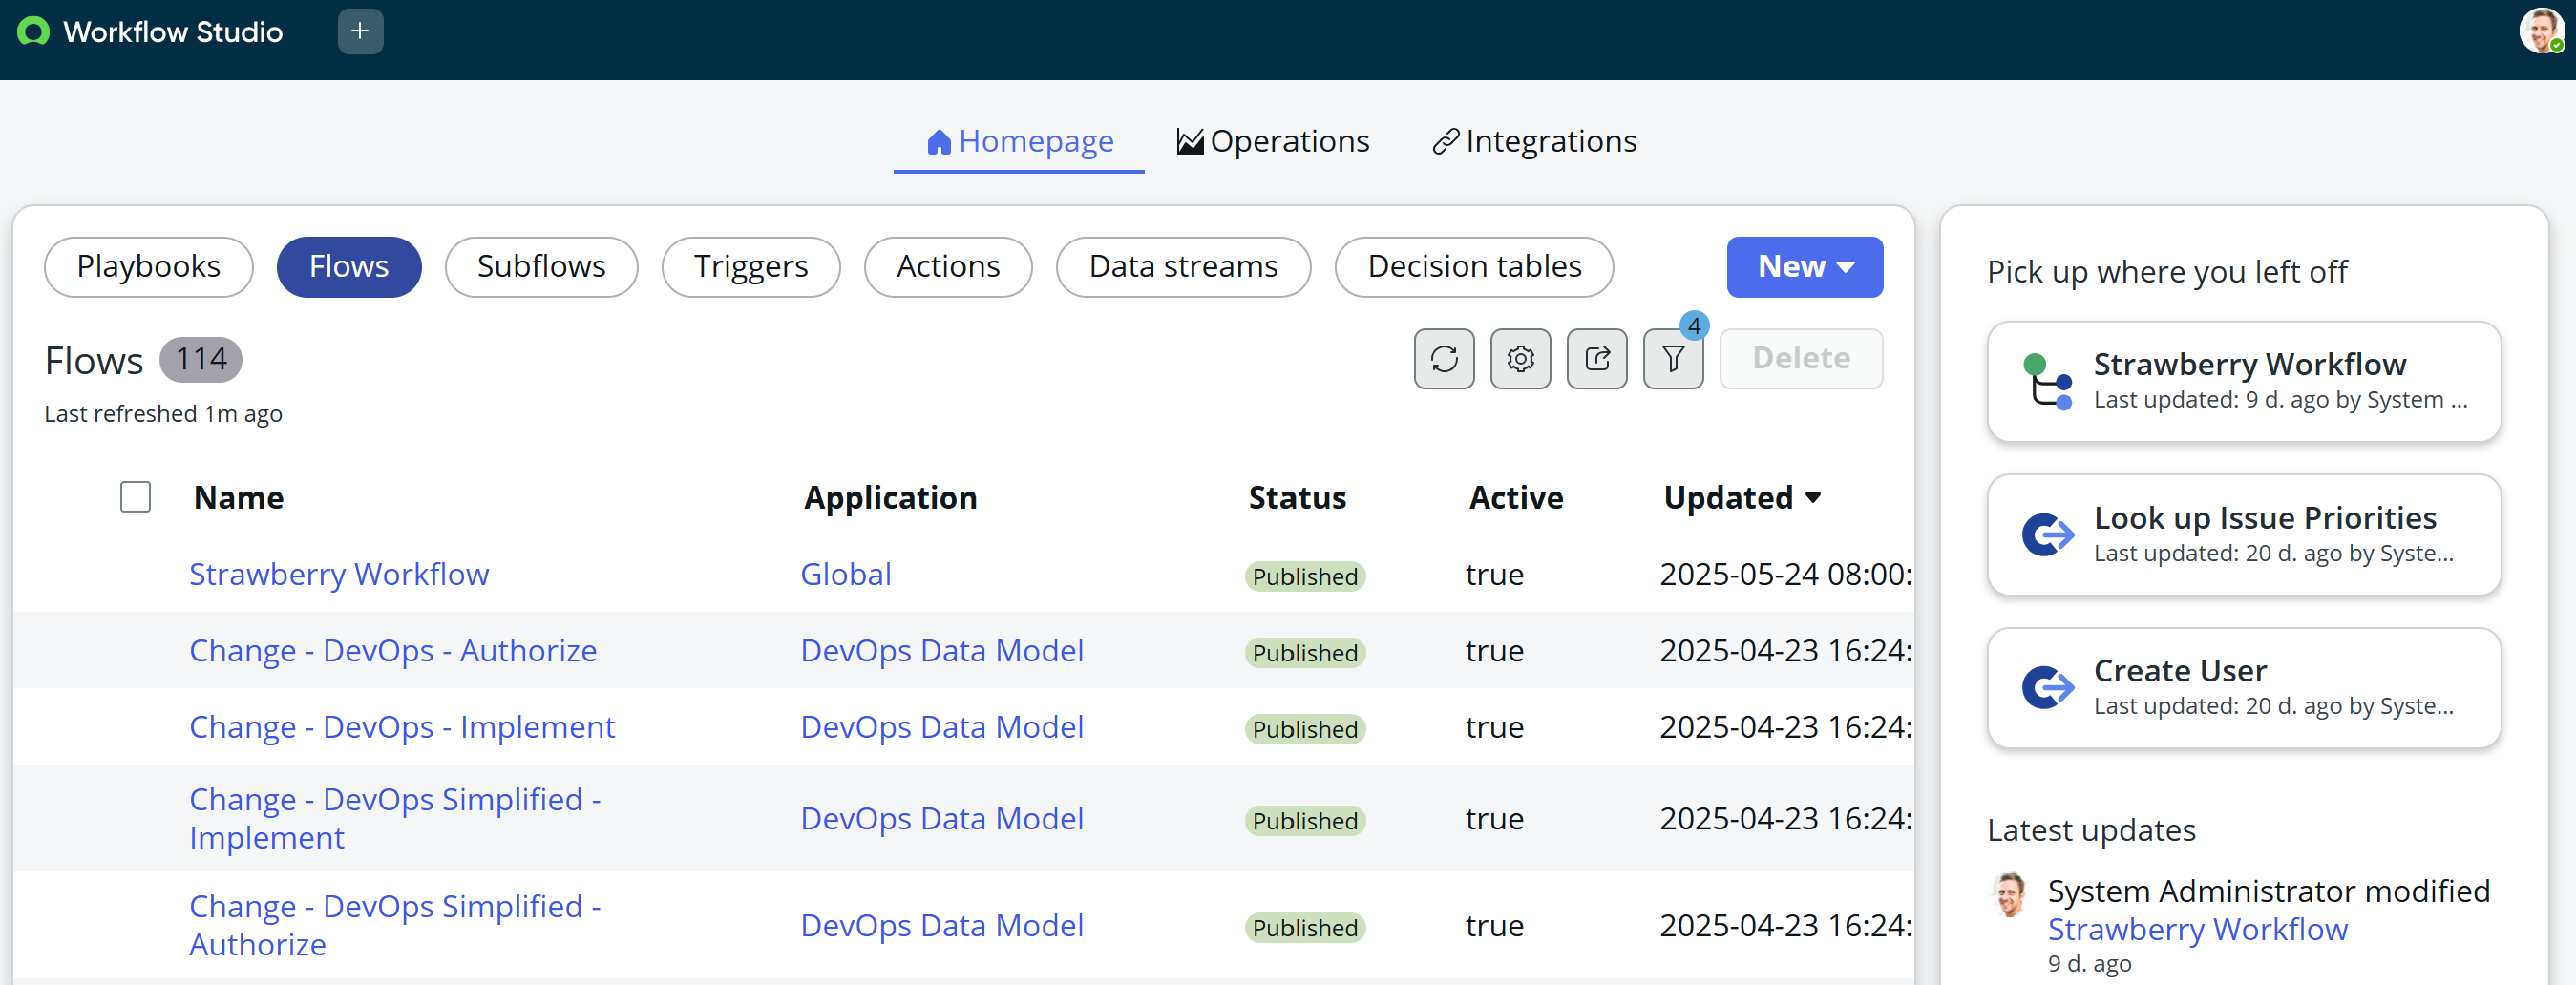
The Homepage is the central hub of Flow Designer, also referred to here as WorkFlow Studio and defaults to the Flows Type. Potentially a recent change to centralise features, as playbooks is in here now == PAD.)
Each type (Flows, SubFlows, Triggers, Actions, Data Streams and Decision Tables) provides a list of items of that type. Each one can be clicked into and viewed or edited.
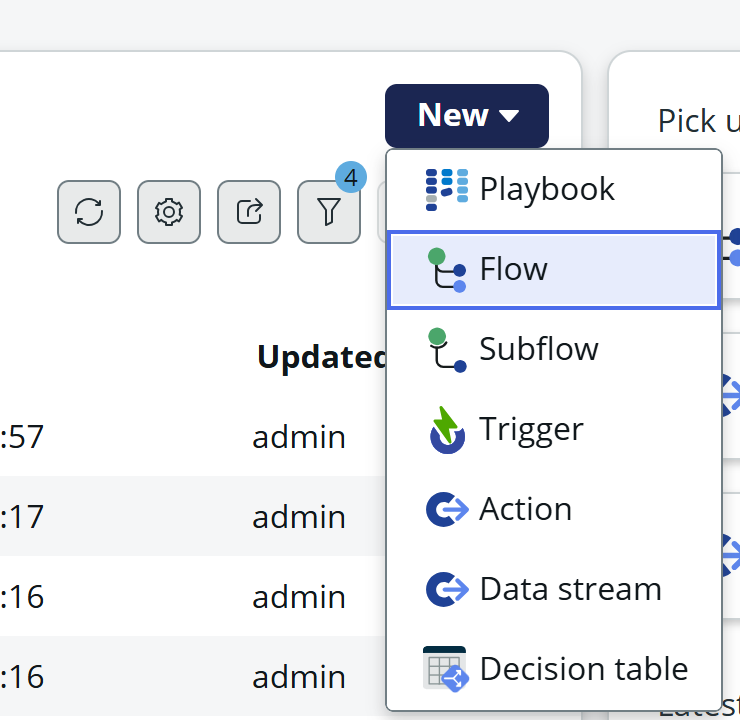
The new button drops down where a type can be selected and a new tab will open in Workflow Studio
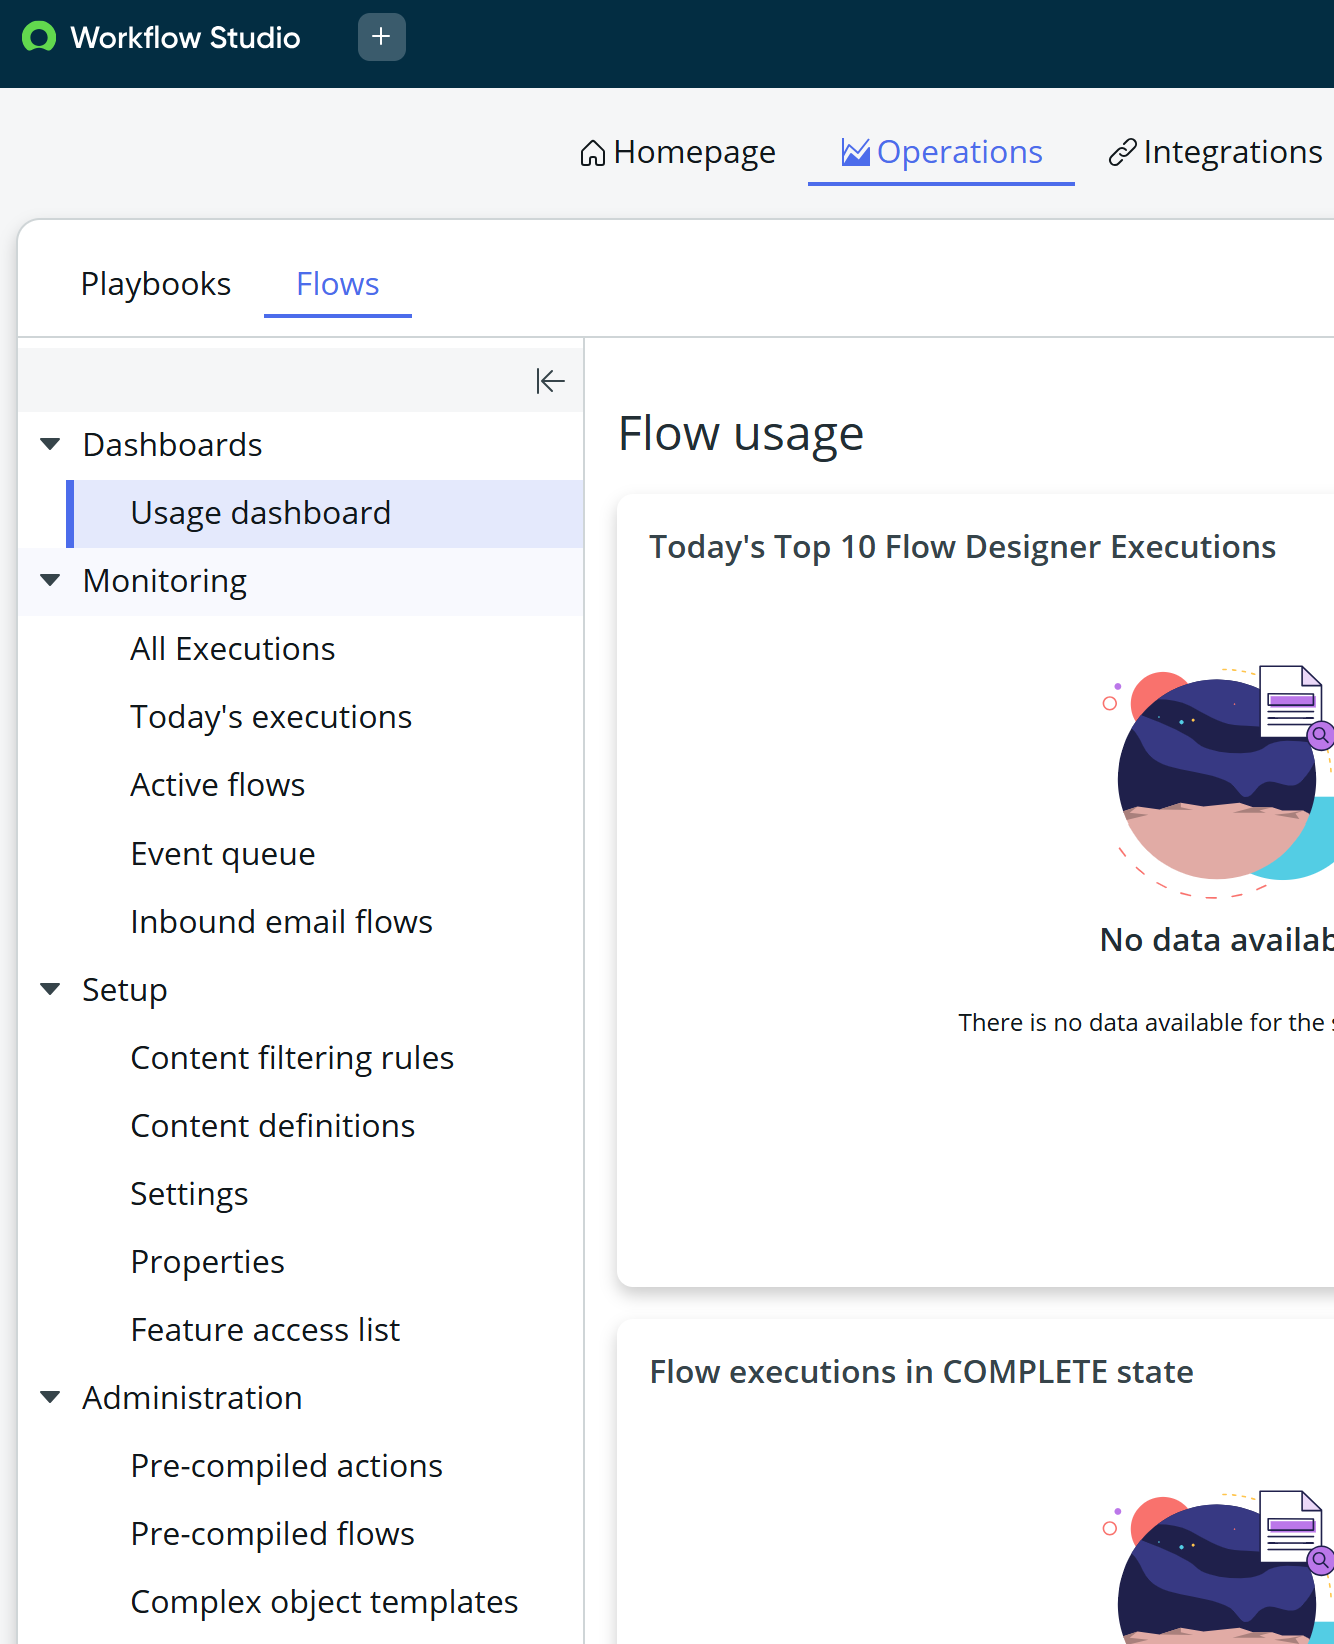
The Operations element is where Playbook and Flow Metrics can be viewed, monitored and reported on and also provides setup and administration tasks.
Finally, the Integrations element provides information related to inbound and outbound connections.
Inbound
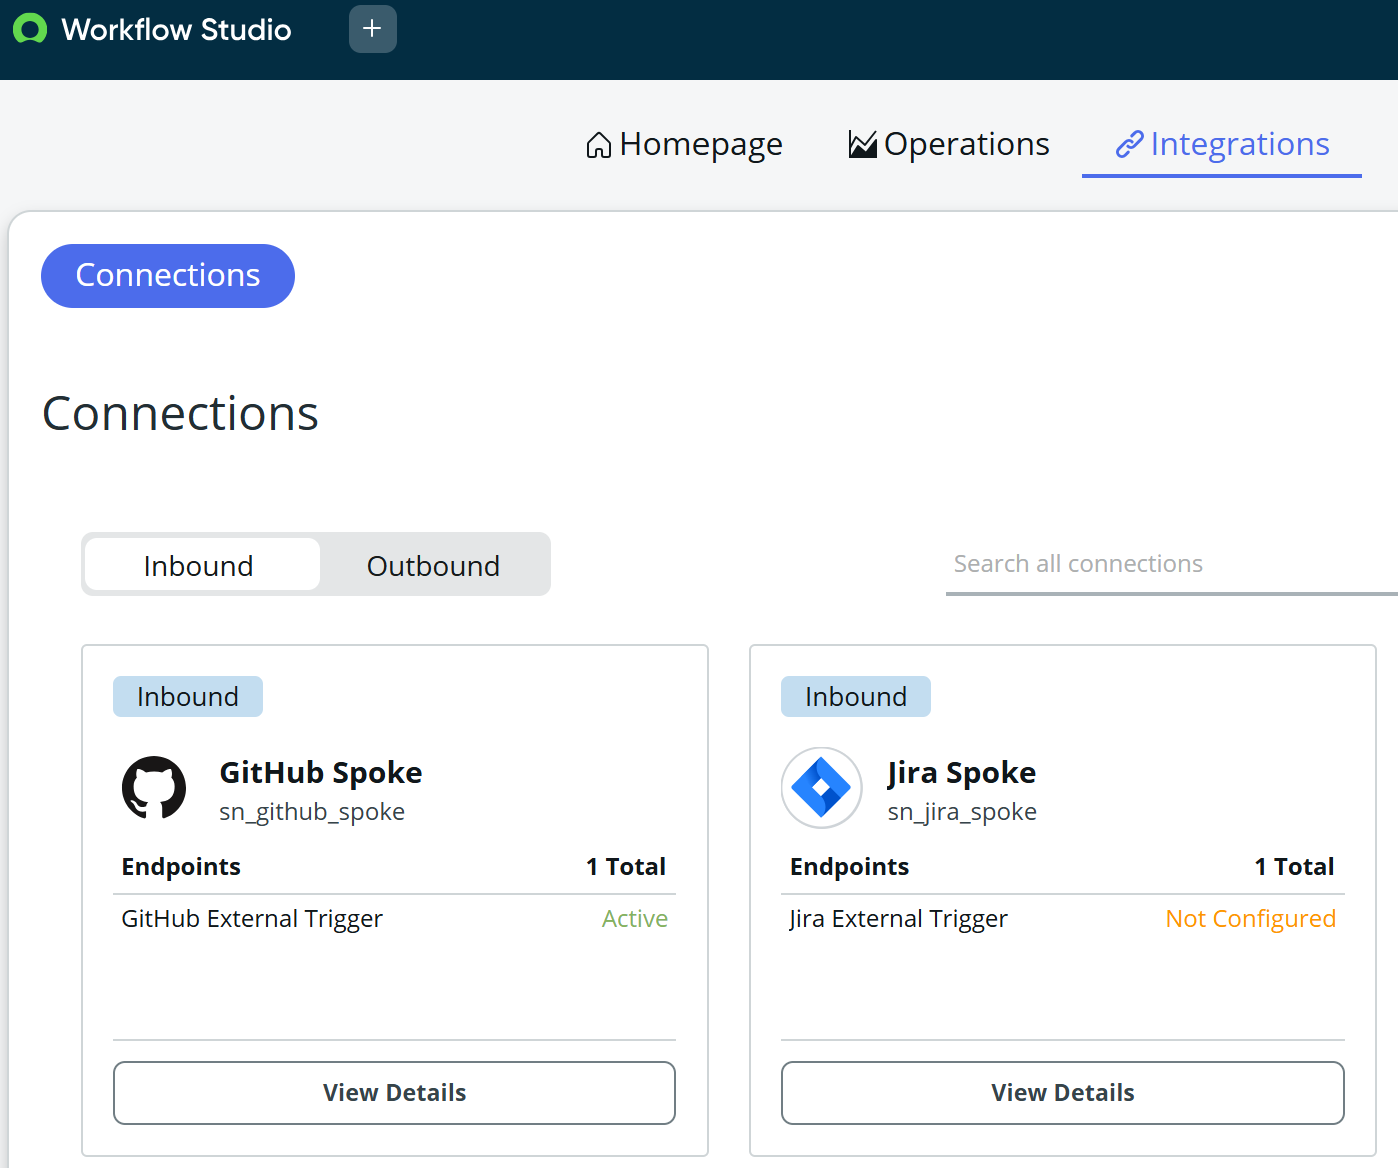
Outbound
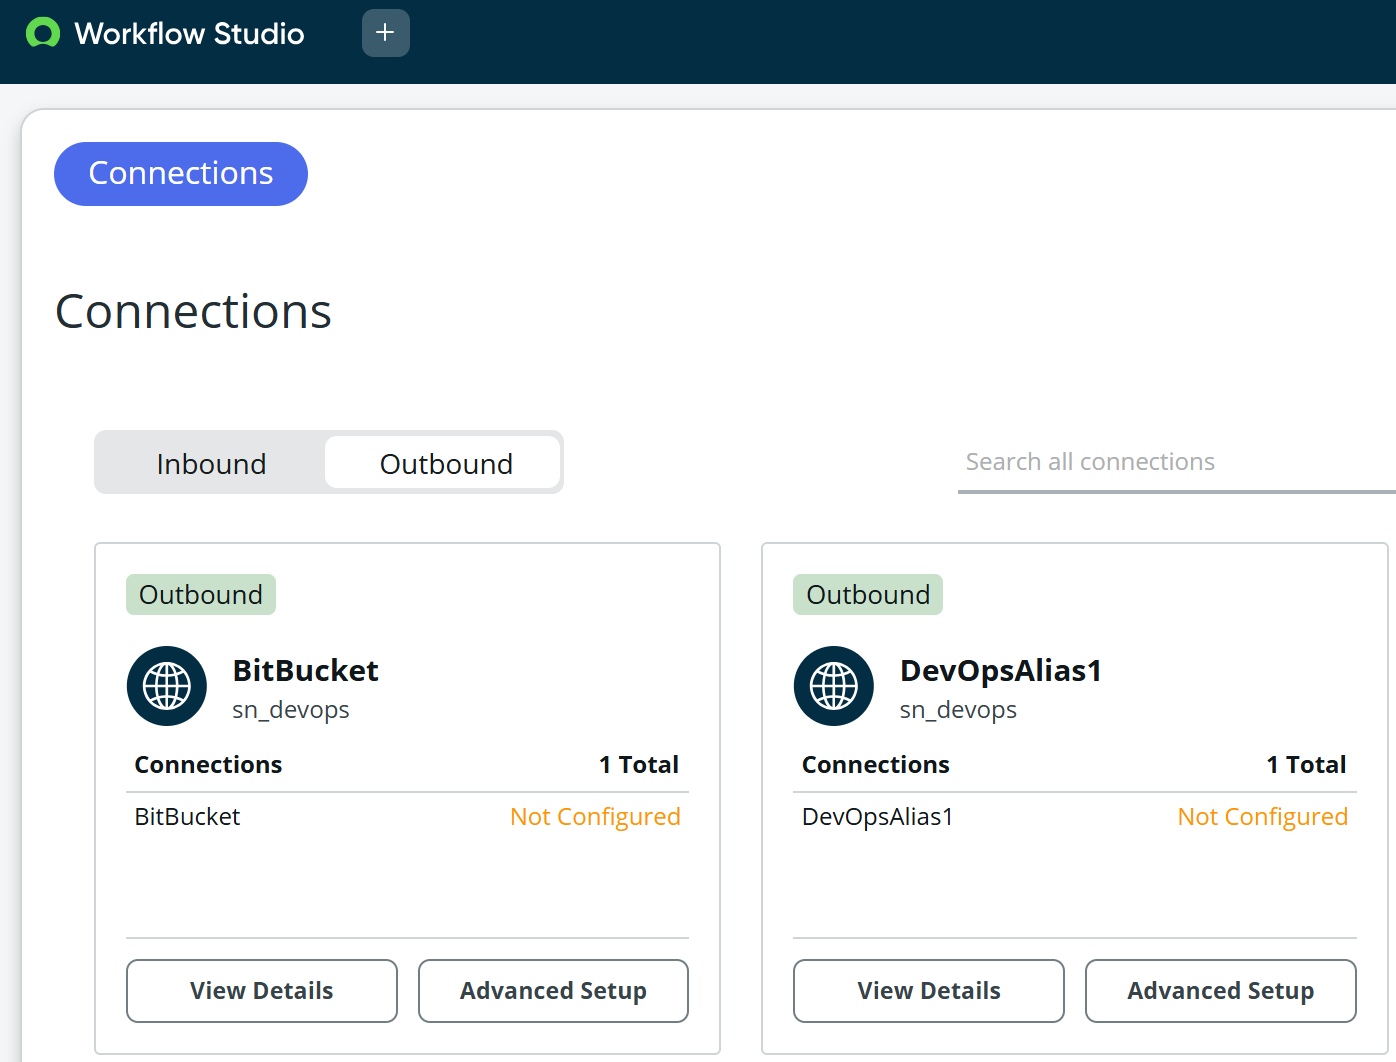
Connections can be searched and sorted here and each connection can be viewed or setup using the advanced setup control.
Flow Designer is an incredible powerful enablement capability for the automation of business processes. This post is an introduction to Flow Designer and part of a series of posts to further learn about and discover its capabilities and value.
Thanks for reading.